People are often shocked when I tell them I can launch an entirely new website in a single day.
Not a placeholder website. Not a “coming soon” page.
I’m talking about a real website with a custom brand, logo, homepage, legal pages, categories, authors, and enough content to start publishing immediately.
The secret isn’t some expensive agency or a team of developers. It’s a combination of ChatGPT, WordPress, a few reliable tools, and a repeatable process I’ve refined after launching dozens of websites.
Here’s exactly how I do it.
Step 1: Start With the Domain
The first thing I do when I’m building a new website is buy the domain.
This is the website address people will type in to visit your site, like WilderFacts.com or MomSavesMore.com.
For this step, I use Namecheap.
Go to Namecheap
Open your browser and go to Namecheap.
Once you’re on the homepage, you’ll see a search bar where you can type in the domain name you want.
This is where most people immediately get stuck, but I don’t recommend spending hours trying to find the perfect name.
At this point, your goal is not perfection.
Your goal is to find a name that is good enough to build around.
Search for a Domain Name
Start by typing in the website name you want.
For example, if I wanted to start a website about interesting animal facts, I might search:
pawsandcritters.com
If it’s available, great. Add it to your cart.
If it’s not available, don’t panic. This happens all the time.
Instead of starting over completely, try small variations.
For example:
ZoologyDigest.com
WildlifeDigest.com
AnimalOddities.com
CreatureChronicle.com
StrangeAnimalFacts.com
I usually keep testing names until I find one that is available as a .com.
Choose a .com When Possible
I personally try to stick with .com domains whenever I can.
There are plenty of other domain endings available, like .net, .co, .blog, or .media, but most people still naturally trust and remember .com best.
If the .com is taken, I would rather adjust the name than buy a less familiar version.
For example, if ModernHomestead.com is taken, I would rather try something like:
ModernHomesteadLife.com
TheModernHomestead.com
HomesteadLivingDaily.com
instead of buying ModernHomestead.net.
What Makes a Good Domain Name?
When I’m choosing a domain, I ask myself four quick questions.
First, is it easy to remember?
If someone hears the name once, could they remember it later?
Second, does it fit the niche?
A site called christianitytoday.com clearly sounds like a faith-based website. A site called a-zanimals.com clearly sounds like an animal or nature site.
Third, is it available as a .com?
This is not always required, but it is my preference.
Fourth, is it broad enough to expand later?
This is important.
I don’t want to choose a name that locks me into one tiny topic forever.
For example, if I start a site about saving money, I probably would not choose a name like CheapGroceryTips.com unless I only wanted to write about groceries.
A broader name like MomSavesMore.com gives me more room to write about groceries, budgeting, family savings, household expenses, deals, and more.
Don’t Overthink the Name
This is where a lot of people waste days.
They keep searching.
They keep asking friends.
They keep making lists.
They keep second-guessing every idea.
I don’t do that.
I give myself about 15 minutes to choose a domain.
If the name is clear, memorable, brandable, and available, I buy it and move on.
The website itself is what gives the name value.
The domain does not have to be perfect on day one.
Add the Domain to Your Cart
Once you find an available domain, click to add it to your cart.
Namecheap may show you a few extra offers during checkout, like email, SSL, or additional domain endings.
For my basic website setup, I usually skip the extras unless I specifically need them.
The main thing I want right now is the domain.
Check Out and Purchase
Create a Namecheap account or log in if you already have one.
Then go through the checkout process and purchase the domain.
Once the order is complete, the domain is yours.
At this point, you officially have the name of your website.
That is the first real step.
You have moved from “I’m thinking about starting a website” to “I own the domain, and this is happening.”
Next, you’ll connect that domain to hosting so you can actually build the website.
Step 2: Set Up Hosting With BigScoots
Now that you’ve purchased your domain, it’s time to give your website a place to live.
Think of it this way:
Your domain is your street address.
Your hosting is the actual house.
Without hosting, people can type in your domain name, but there’s nothing there for them to visit.
For all of my websites, I use BigScoots.
I’ve used multiple hosting companies over the years, but BigScoots has consistently been one of the easiest to work with, especially when managing multiple websites.
Open a New Tab and Go to BigScoots
Leave your Namecheap tab open.
Open a new browser tab and navigate to BigScoots.
From their homepage, select a hosting plan.
If you’re launching your very first website, don’t overcomplicate this decision.
Choose a basic plan that fits your budget.
You can always upgrade later if your traffic grows.
The goal today is to get your website online.
Complete the Hosting Signup
Go through the checkout process and create your hosting account.
Once your account is created, BigScoots will send you several emails.
Don’t delete them.
These emails contain important information, including:
- Your hosting login
- Your cPanel login
- Your server information
- Your nameserver information
We’re about to use some of that information.
Connect Your Domain to Your Hosting
Now we’re going to connect the domain you bought from Namecheap to the hosting account you just created.
Open the email from BigScoots that contains your nameservers.
They will look something like this:
ns1.bigscoots.com
ns2.bigscoots.com
Your exact nameservers may be different, so use the ones provided in your account.
Go Back to Namecheap
Log into your Namecheap account.
Click:
Domain List → Manage
Next to the domain you purchased.
Find the section labeled:
Nameservers
By default, it may say something like:
Namecheap BasicDNS
Change this setting to:
Custom DNS
You’ll now see boxes where you can enter your nameservers.
Copy the nameservers from your BigScoots email and paste them into those fields.
Click Save.
Congratulations.
Your domain and hosting are now connected.
Understand That DNS Changes Take Time
This is the part where people think something is broken.
It’s usually not.
After changing nameservers, it can take anywhere from a few minutes to 24 hours for everything to fully connect.
Most of the time, mine start working much sooner.
While you’re waiting, we can continue setting up the website.
Log Into cPanel
Return to your BigScoots email.
Look for the cPanel login link.
Click it and log in.
cPanel is essentially the control center for your website.
At first it looks intimidating.
Don’t worry.
We’re only going to use a few buttons.
Install WordPress
Inside cPanel, look for:
WordPress Manager
or
Softaculous Apps Installer
Depending on your account setup.
Click WordPress.
Then click Install.
You’ll be asked a few questions.
Choose Your Domain
Select the domain you just purchased.
Make sure the installation directory is blank.
You want WordPress installed directly on the domain.
Not:
yourdomain.com/blog
Not:
yourdomain.com/wp
Just:
yourdomain.com
Create Your Login Information
Now create:
- Website name
- Username
- Password
- Admin email
Write this information down somewhere safe.
You’ll need it every time you log into WordPress.
Click Install
Press Install.
Now wait about a minute.
Seriously.
That’s usually all it takes.
WordPress will automatically install itself.
When it’s finished, you’ll see a login URL that looks something like:
yourdomain.com/wp-admin
Bookmark it.
You’ll use this constantly.
Log Into WordPress
Open the login URL.
Enter the username and password you just created.
When you successfully log in, you’ll see the WordPress dashboard.
This is the moment your website officially becomes real.
A lot of people spend months talking about launching a website.
You’re already logged into yours.
Verify Everything Is Working
Before moving on, visit your homepage.
Type your domain into your browser.
You should see a basic WordPress website.
It won’t look pretty yet.
That’s okay.
Right now we’re only checking that:
- The domain works
- Hosting works
- WordPress works
If all three are working, you’re ready for the fun part: building the brand, creating the design, and turning this blank website into something that looks like a real media company.
Step 3: Install Kadence and Get Rid of the Default WordPress Stuff
Now that WordPress is installed, let’s make it look less like a brand-new WordPress site.
Log into your dashboard by visiting:
yourdomain.com/wp-admin
and signing in with the username and password you created during installation.
Install the Kadence Theme
On the left-hand menu, click:
Appearance → Themes
Then click:
Add New Theme
In the search box, type:
Kadence
When it appears, click:
Install → Activate
That’s it.
This is the theme I use on virtually all of my websites because it’s lightweight, easy to customize, and works well with page builders.
Install Kadence Blocks
Next, go to:
Plugins → Add New Plugin
Search for:
Kadence Blocks
Click:
Install → Activate
Kadence Blocks is what allows me to build custom homepages, landing pages, category pages, and other layouts without needing to know how to code.
Change Your Website Title
Go to:
Settings → General
You’ll see a field called:
Site Title
This should be the name of your website.
For example:
- Wilder Facts
- Believer’s Brief
- Mom Saves More
You can leave the tagline blank for now because we’ll come back and create one with ChatGPT.
Scroll down and click Save Changes.
Change Your Permalinks
This is one setting I change on every website.
Go to:
Settings → Permalinks
Select:
Post Name
Then click Save.
This makes your URLs look clean and professional.
Instead of:
yourdomain.com/?p=123
you’ll get:
yourdomain.com/how-to-save-money
Delete the Sample Content
WordPress automatically creates a few pieces of placeholder content.
Let’s clean that up.
Go to:
Posts
Hover over “Hello World”
Click Trash.
Next, go to:
Pages
Delete the sample page.
Now your site is clean and ready for your content.
Create Your Core Pages
Before moving on, create a few blank pages.
Go to:
Pages → Add New
Create:
- Home
- About
- Contact
Don’t worry about writing them yet.
We’re just creating the framework.
You’re Ready for the Fun Part
At this point, your website is live.
It won’t look impressive yet, but that’s okay.
You have:
- A domain
- Hosting
- WordPress
- Kadence installed
- A clean website structure
Now we’re going to use ChatGPT to build the entire brand from scratch.
This is where the website starts to feel real.
Step 4: Use ChatGPT to Design the Website
Once the basic WordPress setup is done, I come back to ChatGPT and start designing the actual website.
This is the part that saves me the most time.
Instead of opening a blank WordPress page and trying to figure out what should go where, I ask ChatGPT to create a visual direction first.
Ask ChatGPT for a Website Mockup
I usually start by telling ChatGPT what kind of website I’m building.
For example:
I’m building a website about strange facts, science, history, animals, and human behavior. I want it to feel modern, smart, curious, and media-style. Can you give me a mockup of what the homepage should look like?
ChatGPT can then help map out the page visually.
It might suggest:
- A hero section
- Featured articles
- Category cards
- Trending articles
- Newsletter signup
- About section
- Footer
This gives me something to react to.
That matters because sometimes I don’t know exactly what I want until I see an idea in front of me.
Refine the Design Until It Feels Right
The first mockup usually isn’t the final version.
That’s okay.
I’ll tell ChatGPT what I like and what I don’t like.
For example:
I like the layout, but it feels too boring. Make it more modern.
Or:
I want it to feel more like a real media company.
Or:
Add more navy and make it less plain.
Or:
I don’t like that hero section. Redo the whole page.
This back-and-forth is the magic.
Instead of trying to design from scratch, I’m reacting, editing, and refining.
Have ChatGPT Create the Full HTML and CSS
Once I like the design direction, I ask ChatGPT to create the actual code.
I’ll say something like:
Great, now give me the full HTML and CSS so I can paste it into Kadence.
ChatGPT then creates the page code for me.
This usually includes:
- Homepage layout
- Custom styling
- Buttons
- Category sections
- Featured article blocks
- Footer layout
- Mobile responsive styling
I don’t need to know how to code from scratch.
I just need to know where to paste it.
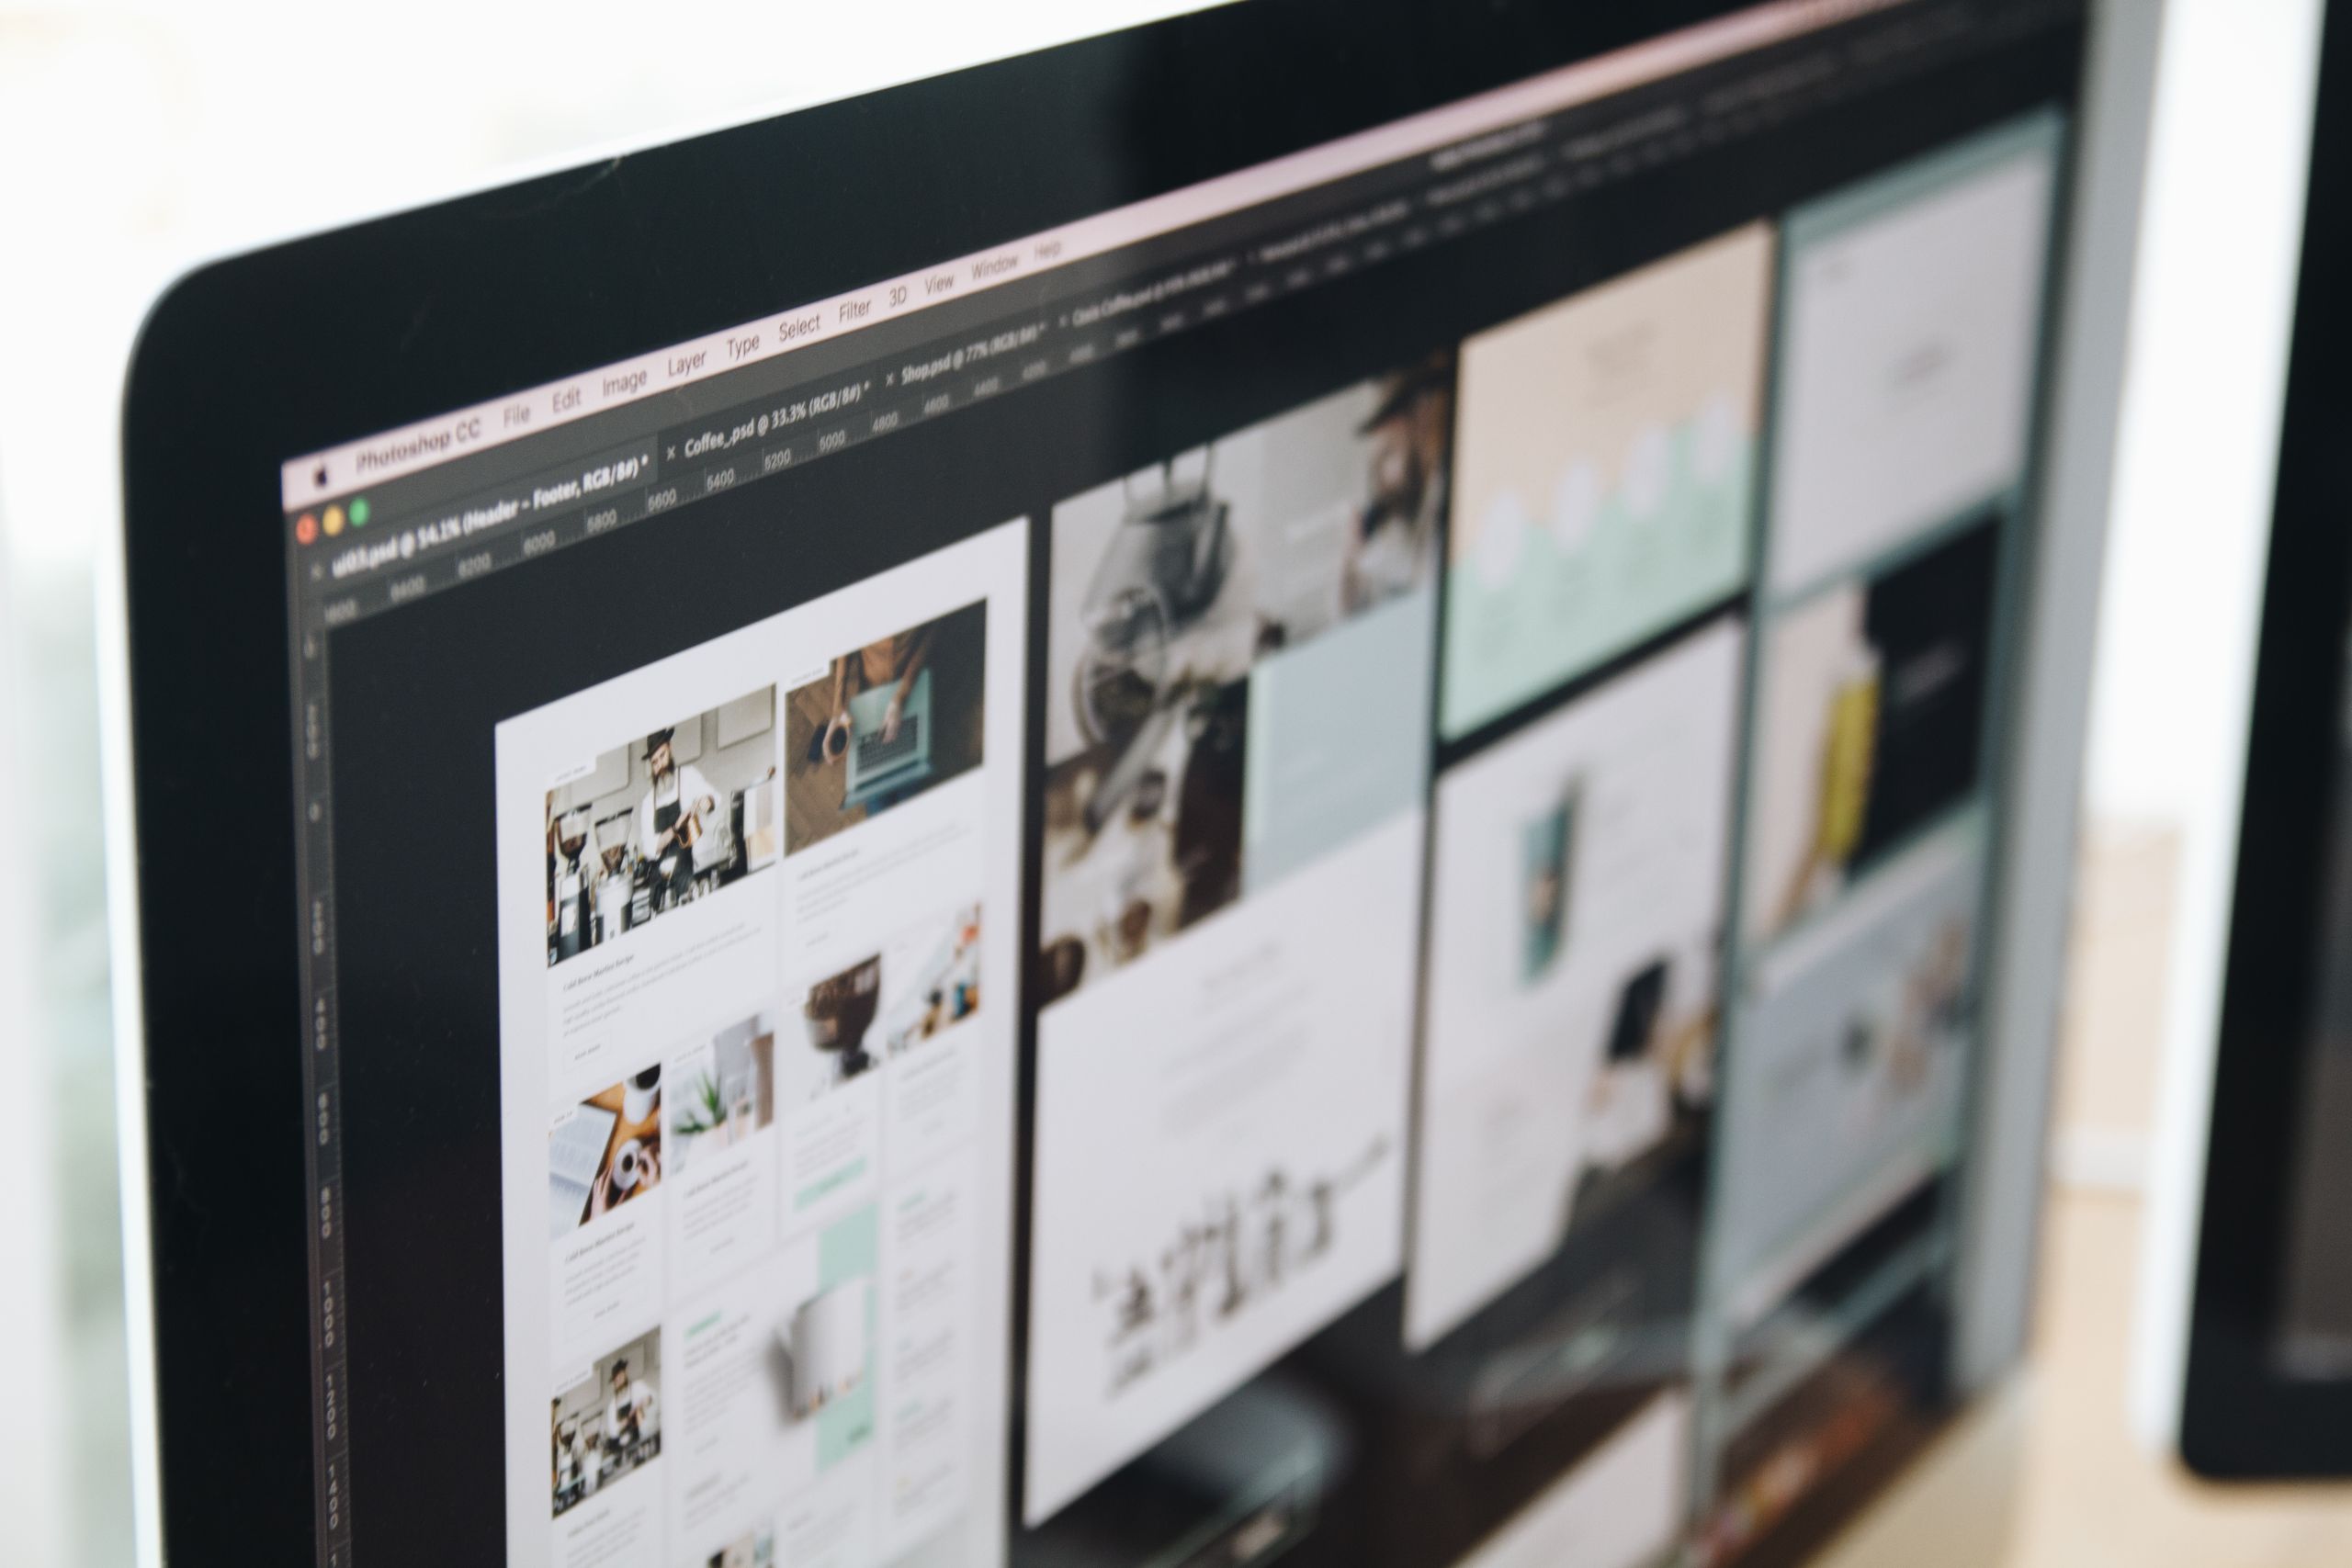
Paste the Code Into Kadence
Inside WordPress, I go to the page I created for the homepage.
Then I add a Custom HTML block through Kadence or WordPress blocks.
I paste the code ChatGPT created into that block.
Then I preview the page.
If something looks off, I take a screenshot or describe the issue and come back to ChatGPT.
For example:
The hero section looks too cramped.
The images are not showing.
The buttons are too small on mobile.
The background color is too light and the text is hard to read.
Then ChatGPT fixes the code, and I paste the updated version back in.
Use Placeholder Images First
In the beginning, I don’t worry about perfect images.
Sometimes I’ll ask ChatGPT to use placeholder boxes where images will go.
Other times, I’ll give it image URLs I already uploaded to WordPress.
For example:
Use this image URL as the hero image.
This keeps the process moving.
I can always come back later and swap images.
Build the Core Pages the Same Way
Once the homepage looks good, I use the same process for other pages.
I’ll ask ChatGPT to create:
- About page
- Contact page
- Staff page
- Editorial policy page
- Category page mockups
- Footer design
- Header design
Each page follows the same pattern:
Describe what I want.
Ask for a mockup.
Give feedback.
Ask for the code.
Paste it into Kadence.
Preview.
Fix anything that looks wrong.
Why This Works So Fast
The reason this workflow is so powerful is that ChatGPT removes the blank-page problem.
I’m not trying to become a professional designer.
I’m not spending days learning code.
I’m not buying a complicated theme and trying to force it to look right.
I’m using ChatGPT to create a custom design, then I’m pasting that design into WordPress.
That’s how I can take a website from empty WordPress install to professional-looking media site in one day.
Step 5: Create the Branding, Logo, and Visual Identity
Now that I have a homepage design I like, it’s time to make the website feel like a real brand.
This is another area where ChatGPT saves me an incredible amount of time.
Years ago, this part would have involved hiring a designer, waiting for revisions, and spending hundreds or thousands of dollars.
Today, I can build most of my brand assets in a single afternoon.
Start With the Brand Personality
Before I create a logo, I want to know how the brand should feel.
I usually ask ChatGPT questions like:
If this website were a person, how would you describe it?
What emotions should readers feel when they visit?
What colors fit this brand?
What fonts fit this brand?
For example:
A finance website might feel:
- Trustworthy
- Professional
- Confident
A gardening website might feel:
- Welcoming
- Relaxing
- Practical
A facts website might feel:
- Curious
- Intelligent
- Modern
This helps create consistency throughout the site.
Choose Brand Colors
One of the easiest mistakes new website owners make is using too many colors.
I usually ask ChatGPT for:
- Primary color
- Secondary color
- Accent color
- Background color
For example, a site might use:
- Navy
- White
- Light gray
- Gold accents
Or:
- Forest green
- Cream
- Warm brown
Once I choose the colors, I use them everywhere.
The homepage.
Buttons.
Headers.
Graphics.
Social media profiles.
Consistency makes a website look much more professional.
Create Logo Concepts
Next, I ask ChatGPT to generate logo ideas.
For example:
Create five logo concepts for a website about practical home organization. I want it to feel warm, clean, and helpful.
Or:
Create a modern logo concept for a personal finance website that feels trustworthy but not boring.
Usually, I’ll review several concepts before finding one I like.
Sometimes I’ll combine elements from multiple designs.
Refine the Logo
The first version is rarely the final version.
I often tell ChatGPT things like:
Make it simpler.
Make it more modern.
Remove the icon.
Add more navy.
Make it easier to read.
Give me something that feels more like a media company.
This process can take a few iterations, but it’s dramatically faster than traditional logo design.
Create Social Media Profile Images
Once the logo is finished, I create profile images for:
- TikTok
- YouTube
Having matching branding across platforms makes everything feel connected.
Create Cover Photos and Banners
Next, I create:
- Facebook cover photos
- Website header graphics
- Newsletter graphics
- Social media banners
For example, for a personal brand, I might create an abstract banner featuring:
- Houses
- Money
- Laptops
- Coffee
- Travel
- Family
Instead of using stock photos, I can create something unique to the brand.
Create Featured Image Templates
This step saves me a huge amount of time later.
I create a consistent style for article images.
For example:
- Same fonts
- Same colors
- Same branding elements
This helps readers instantly recognize my content.
Save Everything in One Place
As I create assets, I save them in organized folders.
Typically:
- Logos
- Social media graphics
- Cover photos
- Brand guidelines
Future me will thank present me for doing this.
What You Should Have When You’re Done
By the end of this step, you should have:
- A logo
- Brand colors
- Social media profile images
- Cover photos
- Featured image style
- Visual consistency across the site
At this point, your website is no longer just a WordPress installation.
It looks like a real brand.
Now it’s time to build out the pages that every professional website needs, including the About page, Contact page, Editorial Policy, Privacy Policy, and other foundational pages.
Step 6: Build the Core Pages Every Website Needs
At this point, your website looks good.
You have a domain.
You have hosting.
You have WordPress installed.
You have a homepage design.
You have a logo and branding.
Now it’s time to build the pages that make your website look legitimate.
This step is especially important if you eventually want to work with advertising companies, affiliate programs, search engines, media partners, or publisher platforms.
Many website owners skip these pages entirely.
I create them before I publish a single article.
Create Your About Page
The About page is one of the first pages I build.
People want to know who’s behind a website.
Even if you’re not building a personal brand, visitors still want to understand:
- What the website is about
- Why it exists
- Who it’s for
- What readers can expect
I usually give ChatGPT a simple prompt like:
Write an About page for a website that helps homeowners create beautiful outdoor spaces through practical gardening advice.
Or:
Write an About page for a website that covers personal finance and helping families spend less and save more.
Then I edit the draft until it sounds like the brand.
Create a Contact Page
Every website should have a way for people to reach you.
I ask ChatGPT to create a simple contact page that includes:
- Contact form
- Business email
- Partnership inquiries
- General questions
You don’t need anything complicated.
The goal is simply to make your website feel accessible and professional.
Create a Privacy Policy
This is one of the easiest pages to create.
I simply ask ChatGPT:
Create a Privacy Policy for my website.
Then I customize it to fit my situation.
This page explains:
- Cookies
- Analytics
- Data collection
- Email subscriptions
Most advertising and affiliate programs expect you to have one.
Create a Terms of Use Page
Next, I create a Terms of Use page.
This explains:
- Website rules
- Content ownership
- Limitations of liability
- User responsibilities
Again, ChatGPT can generate a strong first draft in seconds.
Create an Editorial Policy
This is one of the pages that makes a website feel like a real publication.
I usually include:
- How content is created
- Fact-checking standards
- Correction policies
- Editorial independence
- Source standards
This helps build trust with readers.
Create an Advertising Disclosure
If your website uses affiliate links, display ads, sponsorships, or product recommendations, you should create an advertising disclosure.
This explains:
- How the website earns money
- Affiliate relationships
- Sponsored content policies
Transparency builds credibility.
Create an Author Page
Even if you’re the only writer, I recommend creating an author profile.
Readers like knowing who wrote the content.
I usually include:
- Headshot
- Short bio
- Areas of expertise
- Contact information
If you plan to hire writers later, this structure is already in place.
Build a Footer
One thing I see new website owners overlook is the footer.
A good footer typically includes:
- About
- Contact
- Privacy Policy
- Terms of Use
- Editorial Policy
- Advertising Disclosure
I usually ask ChatGPT to create the footer code and then paste it into my website.
This instantly makes the site feel more established.
Ask ChatGPT to Write Everything
This is where ChatGPT becomes incredibly useful.
Instead of spending hours writing legal pages and company information from scratch, I simply tell ChatGPT:
Create all of the foundational pages for this website based on the brand we created earlier.
Within minutes, I have drafts for everything.
Then I review, edit, and publish.
What You Should Have When You’re Done
By the end of this step, your website should have:
- About page
- Contact page
- Privacy Policy
- Terms of Use
- Editorial Policy
- Advertising Disclosure
- Author page
- Footer links
At this point, your website doesn’t just look good—it looks legitimate.
Now it’s time to build the content strategy that will actually drive traffic and give people a reason to come back.
Step 7: Set Up the Business Side of Your Website
At this point, the website itself is built.
You have:
- A domain
- Hosting
- WordPress
- Branding
- Homepage
- Core pages
Now it’s time to turn it into a functional business website.
Unlike a media company or blog, my goal here isn’t to publish hundreds of articles.
This website serves as the central hub for the brand.
It’s where people can:
- Learn who I am
- Contact me
- Follow me on social media
- Download free resources
- Purchase digital products
- Join my email list
- Learn about what I do
Think of the website as your online headquarters.
Set Up Your Contact System
One of the first things I do is create a way for people to contact me.
Ask ChatGPT to create a professional Contact page.
Typically, I’ll include:
- Contact form
- Business email
- Partnership inquiries
- Media inquiries
- General questions
I want visitors to know exactly how to reach me.
Connect Your Social Media Profiles
Most creators already have an audience somewhere.
Maybe that’s:
- TikTok
- YouTube
I make sure those links appear prominently throughout the website.
The homepage.
The footer.
The contact page.
The goal is to help visitors connect with me wherever they spend time online.
Create an Email List
If I could start over from scratch, I would build my email list much sooner.
Social media platforms can change overnight.
Your email list belongs to you.
I typically use an email platform such as MailerLite.
Then I create a simple signup form that offers something valuable.
For example:
- Checklist
- Tracker
- Guide
- Resource library
- Free training
Create a Lead Magnet
A lead magnet is simply something helpful that visitors receive in exchange for their email address.
For example:
- Mortgage payoff tracker
- Budget template
- Meal planner
- Content calendar
- Gardening guide
It doesn’t need to be complicated.
It just needs to solve a problem.
Set Up a Download Page
Once someone joins my email list, I want them to have a good experience.
I typically create:
- Thank you page
- Download page
- Welcome email
This can all be built with ChatGPT helping create the copy.
Create a Digital Products Page
Even if I don’t have products yet, I usually create the framework.
For example:
- Templates
- Spreadsheets
- Printables
- Guides
- Courses
The page might simply say:
“Coming Soon”
The important part is building the structure now.
Add a Simple Blog Section (Optional)
Some brand websites benefit from having a blog.
Others don’t need one.
If I create one, it’s usually small.
Instead of publishing daily content, I may only publish:
- Updates
- Tutorials
- Case studies
- Frequently asked questions
The website’s primary purpose is still supporting the brand.
Create a Resources Page
One of my favorite pages to build is a resources page.
This can include:
- Recommended tools
- Favorite software
- Helpful links
- Affiliate recommendations
- Frequently used resources
It’s useful for both readers and potential revenue opportunities.
What You Should Have When You’re Done
By the end of this step, your website should function as the home base for your brand.
Visitors should be able to:
- Learn about you
- Contact you
- Join your email list
- Follow your social media
- Download resources
- View your products
At this point, the website is no longer just a website.
It’s the central hub of your online business.